Introduction
In this guide you will learn how to replace the passenger side window regulator clip for a 2006 Toyota Highlander.
This clip is important to ensure proper function of the car window. It connects the window glass to the window regulator assembly that lowers and raises the window system. When it is broken, the window regulator may move but the glass will not raise or lower. When the clip is broken, the window may fall out of alignment when lowering and/or be stuck in the open/closed position.
During this guide, be careful when interacting with electrical components and make sure the car battery is disconnected when doing electrical repair.
It is recommended to have two people work on this repair.
Tools
Parts
-
-
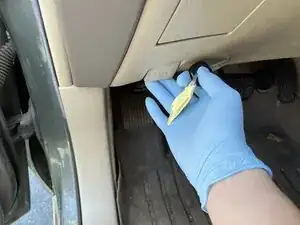
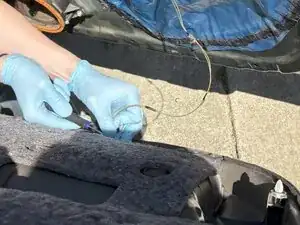
Pull up on the hood release handle under the steering wheel to unlock the hood.
-
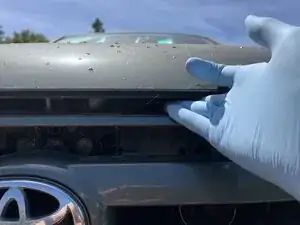
Pull up on the hood release latch under the hood lip to unlatch the hood.
-
-
-
Lift and hold the hood open with one hand.
-
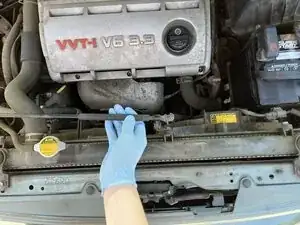
Lift the hood prop rod up from the holder in front of the engine.
-
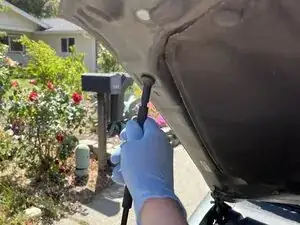
Insert the hoop prop rod into the hole on the underside of the hood.
-
Gently let go of the hood, ensuring the hood prop rod seats properly.
-
-
-
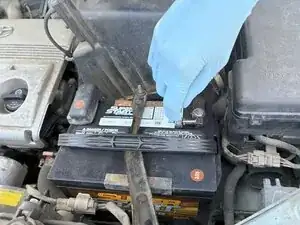
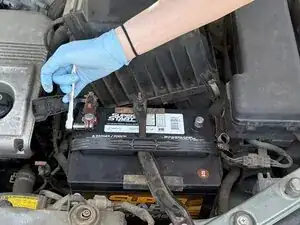
Use the 10mm socket wrench to loosen the 10mm bolt holding on the negative (black) lead.
-
Lift the negative (black) wire away from the battery post and set the wire aside so it will not touch the battery post.
-
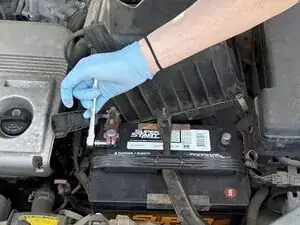
Lift the plastic cover away from the positive battery post.
-
Lift the positive (red) wire away from the battery post, cover the wire with the plastic cover, and set the wire aside so it will not touch the battery post.
-
-
-
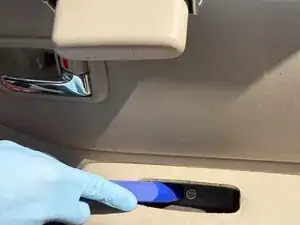
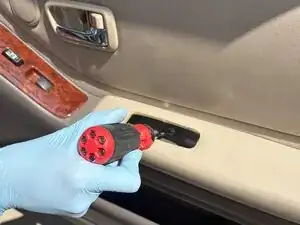
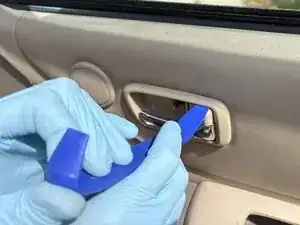
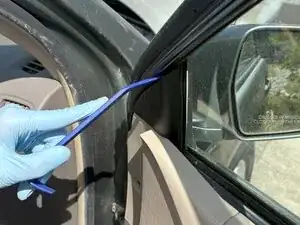
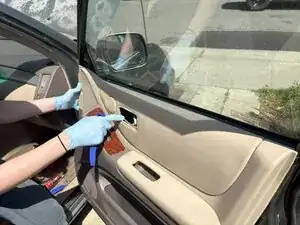
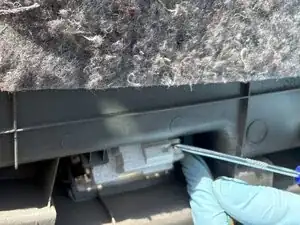
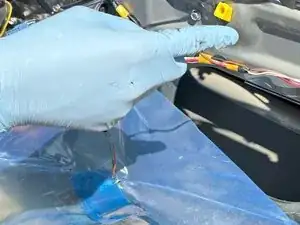
Run the plastic trim tool around the lip of the door grip, and gently pry the trimming up to reveal a screw.
-
Remove the screw with a Phillips screwdriver.
-
-
-
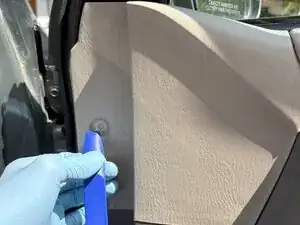
Remove the door handle Philips head screw located behind the small flap on the door handle.
-
Gently pry the door handle cover off.
-
-
-
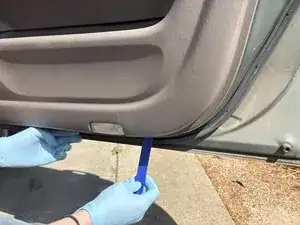
Gently pull the bottom of the door panel away from the frame.
-
Guide the door handle through the hole in the panel.
-
Unhook and remove the door paneling from the door frame.
-
-
-
Disconnect the door threshold light wire connector, located on the bottom of the door.
-
Set the door paneling cover aside.
-
-
-
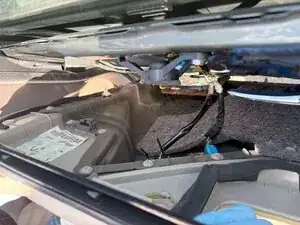
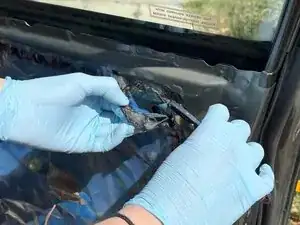
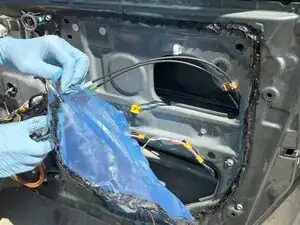
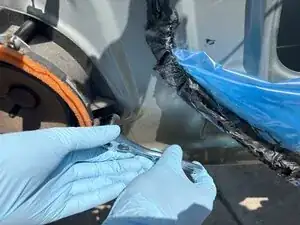
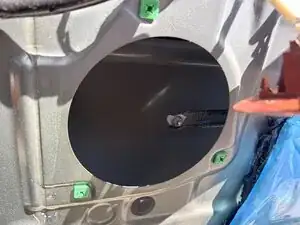
Gently peel away and remove the weather protection plastic film from the door panel.
-
Remove the handle and light wires from the film.
-
-
-
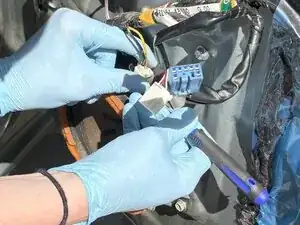
Disconnect the speaker wires.
-
Use a 10mm socket wrench to unscrew the three speaker bolts.
-
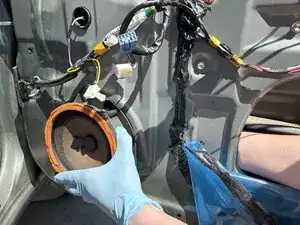
Reach into the framing and push the speaker from behind to remove the speaker assembly.
-
-
-
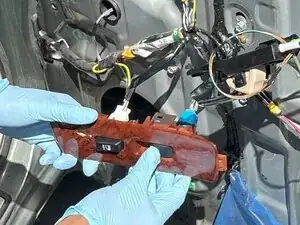
Remove the window button console from the door paneling.
-
Reconnect the wires on the door frame to the window button console.
-
-
-
Use a 10 mm socket wrench to reconnect the positive terminal (red) on the car battery.
-
Use a 10 mm socket wrench to reconnect the negative terminal (black) on the car battery.
-
-
-
Turn the car on.
-
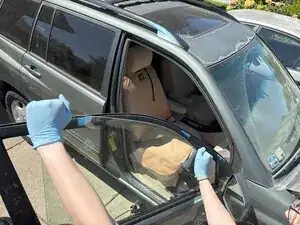
Physically hold the window glass in place.
-
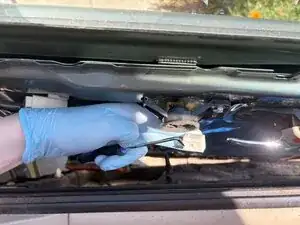
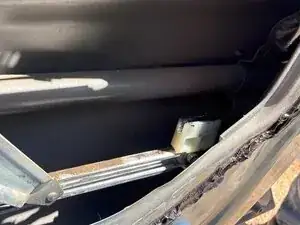
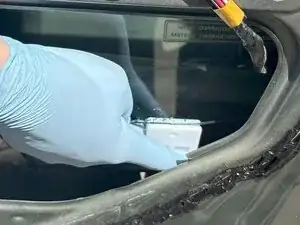
Use the window button console to slowly roll down the window framing until the regulator clips are visible and accessible in the spaces where the speaker and blue film were.
-
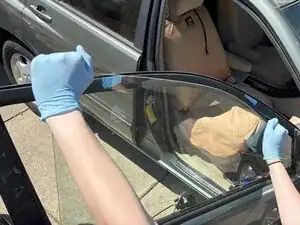
Gently rotate and lift the window glass out of the door.
-
Set the glass aside.
-
-
-
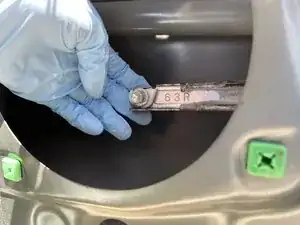
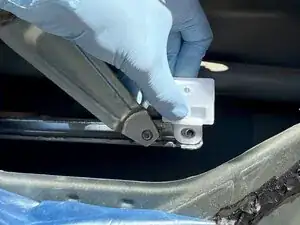
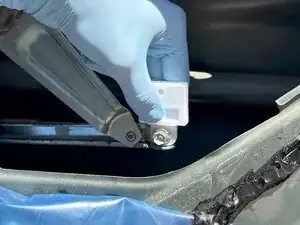
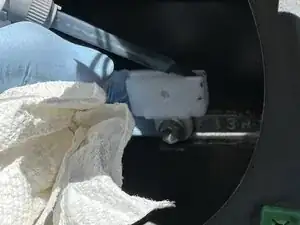
Place the new window regulator clips with the tab facing towards you.
-
Reattach the bolts with a 10 mm socket wrench.
-
-
-
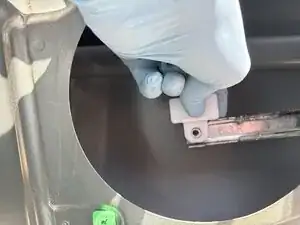
Gently lower the window glass into the door frame.
-
Place the window glass into the window regulator clips and check the alignment.
-
Hold the window glass in place. Use the driver's side window button console to lower the window framing to reaccess the window regulator clips.
-
-
-
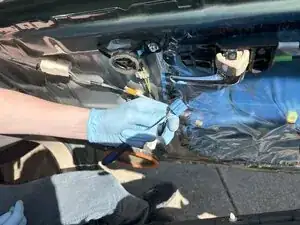
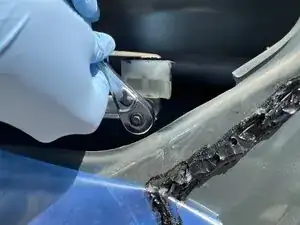
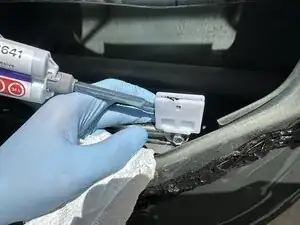
Assemble the adhesive applicator per manufacturer instructions.
-
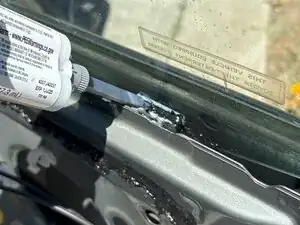
Apply adhesive into the window regulator clip channel.
-
Use the window buttons console to slowly roll up the framing to meet the window glass. Insert the window glass into the window regulator clips.
-
Apply more adhesive if needed.
-
-
-
Repeat Steps 1-11 in reverse, ensuring to disconnect battery before touching wires or connectors. Let adhesive cure at least 24 hours before resuming normal use.
-