Introduction
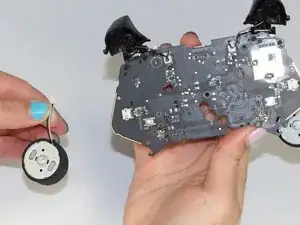
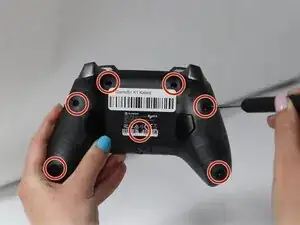
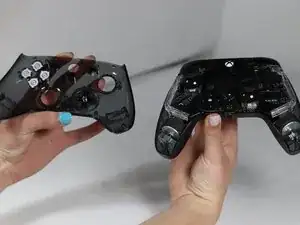
This guide will provide detailed step-by-step instructions on replacing the rumblepad for the GameSir K1 Kaleid wired controller. After extensive use, the rumblepads will begin to not work properly. Symptoms can include rumbling at a lesser power, one side rumbling, interrupted rumbling patterns, or not rumbling at all. To replace the rumblepads, use this guide to access the motherboard. There is an option to replace both or just one malfunctioning rumblepad.
Tools
-
-
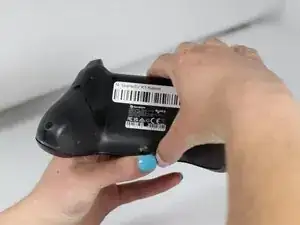
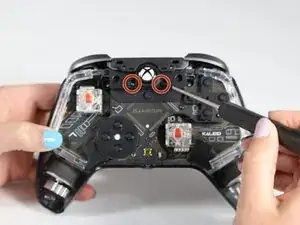
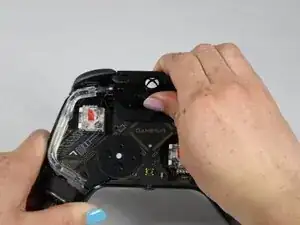
Hold the controller between your hands, with the front panel facing down.
-
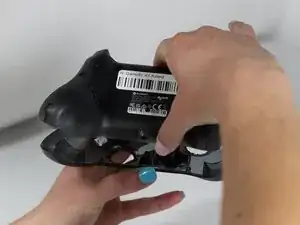
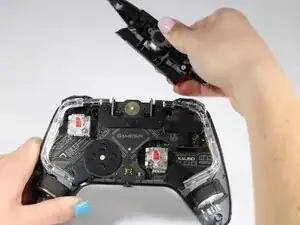
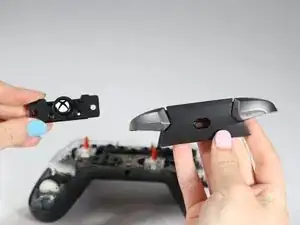
Lift the back panel.
-
-
-
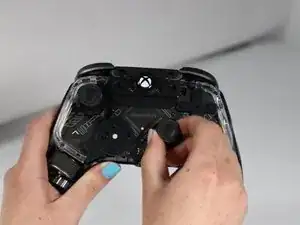
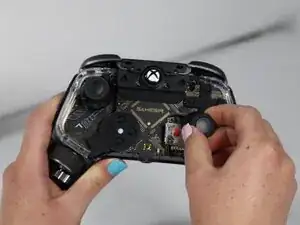
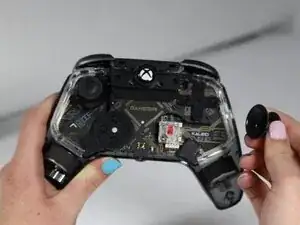
Hold the controller, grasp the rubber joystick cover, and pull upwards.
-
Repeat for the second joystick cover.
-
-
-
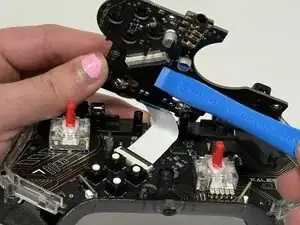
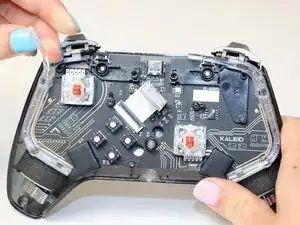
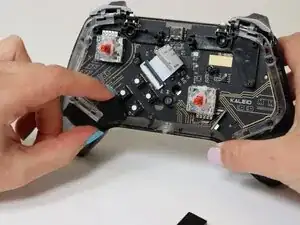
Gently pull the daughterboard up from the front center and open it like a hinge to the left exposing the ribbon.
-
Use the iFixit opening tool or tweezers to lift the black clamp holding the ribbon in. Align the iFixit opening tool with the ribbon, gently push under the clamp, and then pop it upwards.
-
Replace this daughterboard to fix the D-pad function.
-
-
-
Using your fingers, gently grab the top of one of the silicone LED strips and begin to remove it from the plastic holders to expose the screws below.
-
The LED strip can gently be removed along with the black end coverings located at the bottom.
-
Use the spudger or fingers to gently pry off the end coverings.
-
-
-
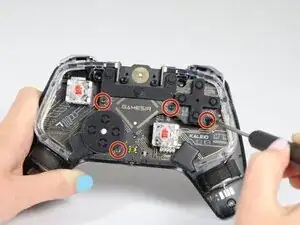
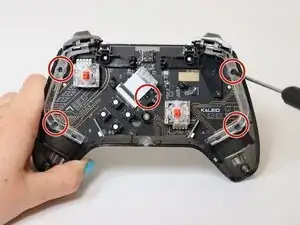
Remove five screws, which will release the clear runners. Set both the screws and runners aside.
-
-
-
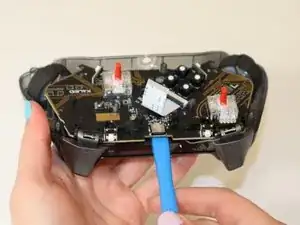
Insert the opening tool through the center, between the motherboard and shell, and lift. This will raise the motherboard off the pegs.
-
Once the board is raised above the edge of the controller shell, use your fingers to pull the rest of the way.
-
Replace the motherboard to get the joysticks working again.
-
-
-
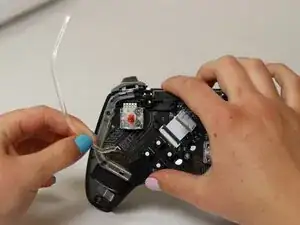
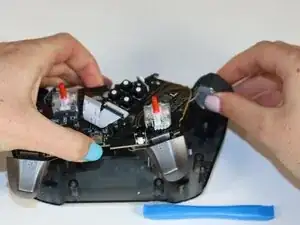
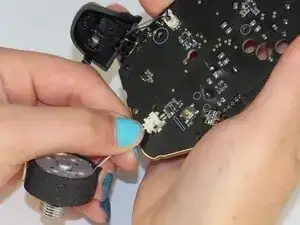
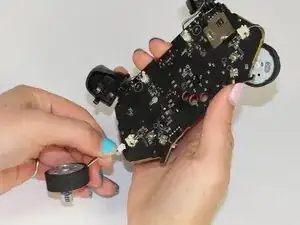
Gently pinch the wires right below the white connector.
-
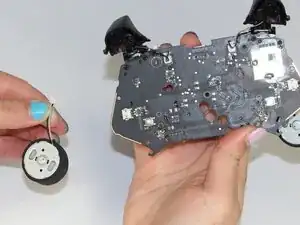
The rumblepad will disconnect with little force. Repeat on the other side to replace both rumblepads.
-
To reassemble your device, follow these instructions in reverse order.
