Introduction
If your 2018 BMW 330i key fob has stopped working or has a weak signal, the battery is likely dead. Instead of going to a dealership and paying for a replacement, you can easily swap out the battery yourself in just a few minutes.
This guide will walk you through the step-by-step process of opening the key fob, replacing the battery, and reassembling it correctly. The process is simple, requires only a small flathead screwdriver, and will help you restore full key fob functionality.
Tools
Parts
-
-
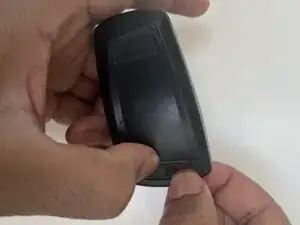
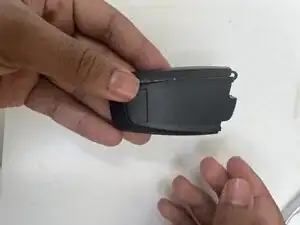
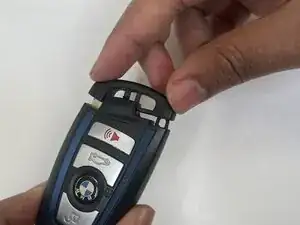
Press the small button on the back of the key fob to release the mechanical key.
-
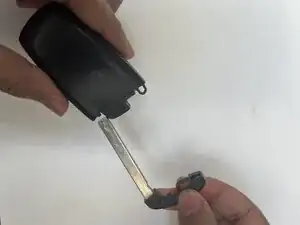
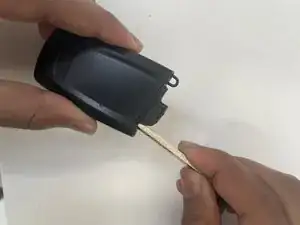
Pull the key out completely.
-
-
-
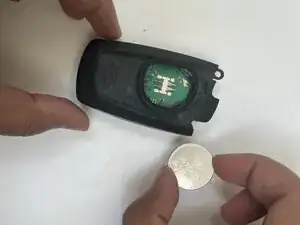
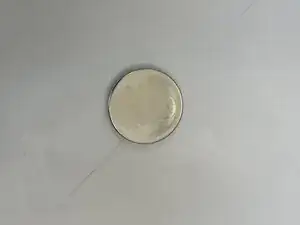
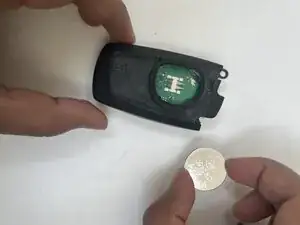
Carefully remove the old CR2450 battery by lifting it out with a nylon spudger or your fingernail.
-
-
-
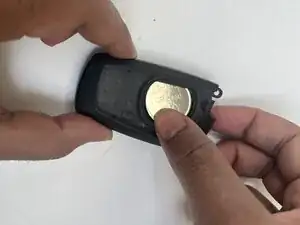
Place the new CR2450 battery in the correct orientation, with the positive (+) side facing up.
-
Ensure the battery is properly seated in the battery slot.
-
-
-
Slide the mechanical key back into the key fob until it locks into place.
-
Press the lock/unlock buttons to ensure the key fob is working.
-

To reassemble your device, follow these instructions in reverse order.
