
Inleiding
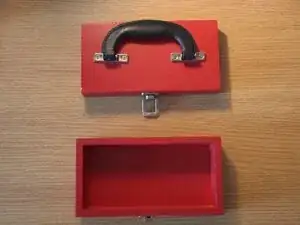
This guide will show you how to replace the hinges on a small wooden toolbox. The original hinges came off, and we’ll be attaching new ones in the same spot using the existing holes. By the end, the toolbox lid will be fully reattached and able to open and close properly again. This guide will be quick and simple only requiring either some steady hands or some patience.
Gereedschap
Onderdelen
-
-
Position the hinges in the same spots as the old ones, aligning them with the existing holes on both the lid and the base.
-
-
-
Hold the lid in place and use a Phillips #00 screwdriver to secure four screws into each hinge on the back of the lid.
-


By replacing the broken hinges and reattaching the lid, this small wooden toolbox is now fully functional again. This quick and simple fix helps extend the life of the toolbox and prevents unnecessary waste. With just a few tools and some patience, you can restore your own toolbox too.