Inleiding
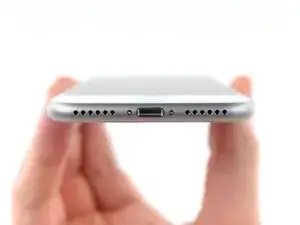
Gebruik deze handleiding om de twee pentalobe (vijfpunts) schroeven die het scherm van de iPhone bevestigen, te verwijderen of te vervangen. Deze schroeven zijn exclusief ontworpen voor Apple, wat een speciale P2 schroevendraaier vereist.
Gereedschap
Onderdelen

Conclusie
Om je toestel weer in elkaar te zetten, volg je deze instructies in omgekeerde volgorde.

just how long are those screws- i turn and turn and turn and the lift off is soooo slight, seemingly insignificant…
An. Jahnke -
I would recommend, from the very beginning, dumping all tools out of the kit (if you got it) and using that white paper tool box as a tray to organize the screws and braces in. It’s nice to work over because it catches screws well and makes it easy to see them if you drop any.
Johnny Emrica -
That’s a great idea thank you
Mohamed Dekkiche -
Screw to the left of the charging port will not come out. Screw on the right came out no problem. Any ideas?
Bill Maher -
Maybe the screw is stripped…
Gabriel-Science -
I already replaced my iPhone 8 battery with one from iFixit and honestly I wasn't impressed. It worked well for a few months, but then I started noticing the peak performance capability dropping significantly thereafter. I followed the initial charging instructions to a tee and only let it drop below 20% once a month. Normal everyday use for me... no intense apps like games, etc. I considered having Apple do it this time around, but for these older models they don't keep the batteries in-stock and you have to give them your phone for up to a week. So in the end, I opted to try another battery from iFixit instead. Hopefully this one will last longer.
tripmusic -
Does it lasted longer ?
Gabriel-Science -
How with the gigantic kit do I not have a 3 1/2 pentalobe driver the very first screwdriver I reach for and that I need is not in any of these kits. What’s up with that?
Michael Stephens -
Same problem. The kit comes with a screw driver, but not for this pentalobe screw. This is a problem.
Yuji Ishitsuka -
I had to search what screwdriver bit I had to use from the ifixit toolkit; it's the P2 bit. (Maybe it's more obvious if you bought the battery kit, because it only has one type of pentalobe screwdriver.)
Nathaniel Zielstra -